Discover the key considerations for choosing the right landscaping bricks for your outdoor space, ensuring your selection meets both aesthetic preferences and functional requirements.
Key takeaways:
- Choose the right landscaping brick material for your project (clay, concrete, stone, recycled, or rubber).
- Consider factors such as compatibility, durability, weight-bearing needs, texture, and size.
- Follow a step-by-step guide to properly lay landscaping bricks.
- Maintain your landscaping bricks with regular cleaning and upkeep.
- Calculate the cost of landscaping with bricks, including materials, labor, and long-term value.
Types of Landscaping Bricks

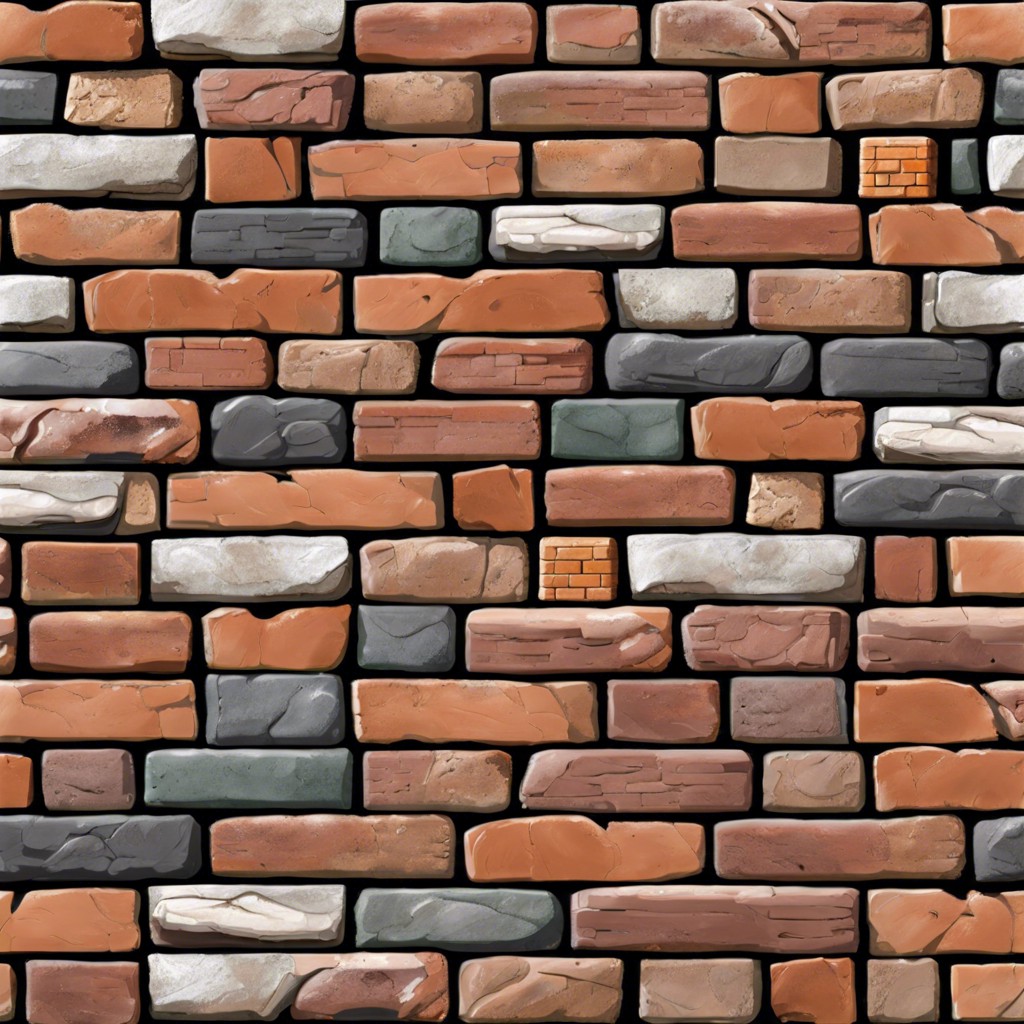
Landscaping bricks come in a variety of materials, each with its unique look and functional benefits. One popular choice is clay bricks, known for their classic aesthetic and durability. They’re baked at high temperatures, ensuring a long lifespan in your garden or patio. Concrete bricks offer a more versatile range of shapes and colors and are ideal for more contemporary designs. They’re also quite sturdy, making them suitable for structural features like retaining walls.
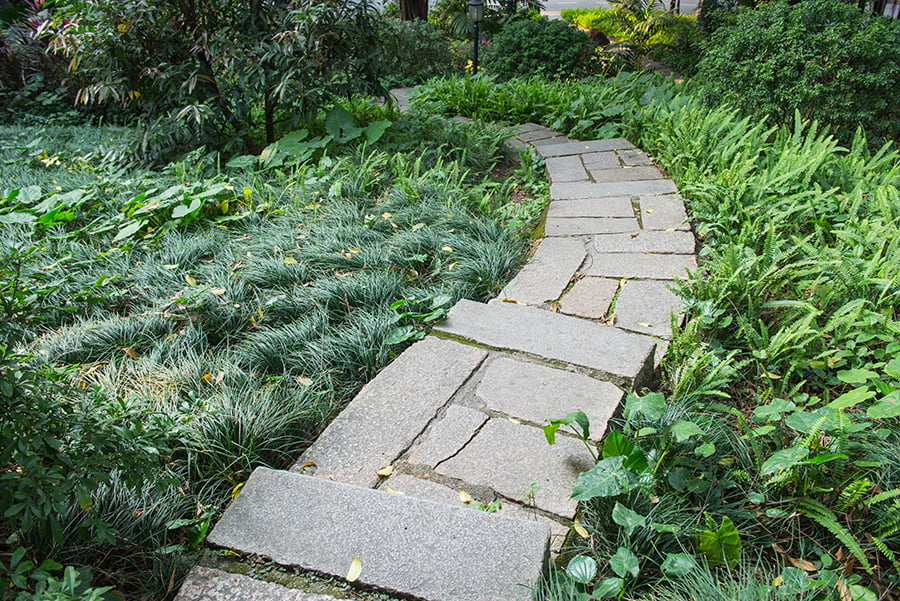
For a more rustic or natural feel, stone bricks such as flagstone or fieldstone bring a unique texture and color variation to your landscape. These types of bricks blend seamlessly with the natural environment and are perfect for creating pathways or accent features. Meanwhile, recycled or reclaimed bricks provide an eco-friendly option with a touch of historical charm. They’re typically salvaged from old buildings, giving a second life to these materials and adding a story to your outdoor space.
Rubber bricks are a newer addition to the scene, catering to safety and comfort. They’re soft to walk on and a great choice for play areas or spaces that require a non-slip surface.
When selecting landscaping bricks, consider not only the aesthetic but also the functionality for your specific project. Each type varies in cost, installation method, and maintenance requirements, so think about your long-term goals and choose accordingly.
How to Choose the Right Landscaping Bricks
Selecting the optimal landscaping bricks for your project involves considering several key factors to ensure both aesthetic appeal and longevity. First, assess the bricks’ compatibility with your home’s existing design and color scheme; they should complement the overall look without clashing. If you’re uncertain about color choices, neutrals like grey or tan are usually safe bets.
The material of the bricks is equally important. Concrete bricks are highly versatile and tend to be less expensive, while clay bricks offer a classic look and are known for their durability. For eco-conscious landscaping, you might opt for recycled brick materials that can provide unique character to your garden.
Durability is critical, particularly in areas with severe weather. Ensure the bricks you choose are rated for ground contact and are resistant to frost heaving if you live in a colder climate. Also, consider the weight-bearing needs of your project. Are the bricks solely decorative, or will they need to support the weight of vehicles or foot traffic?
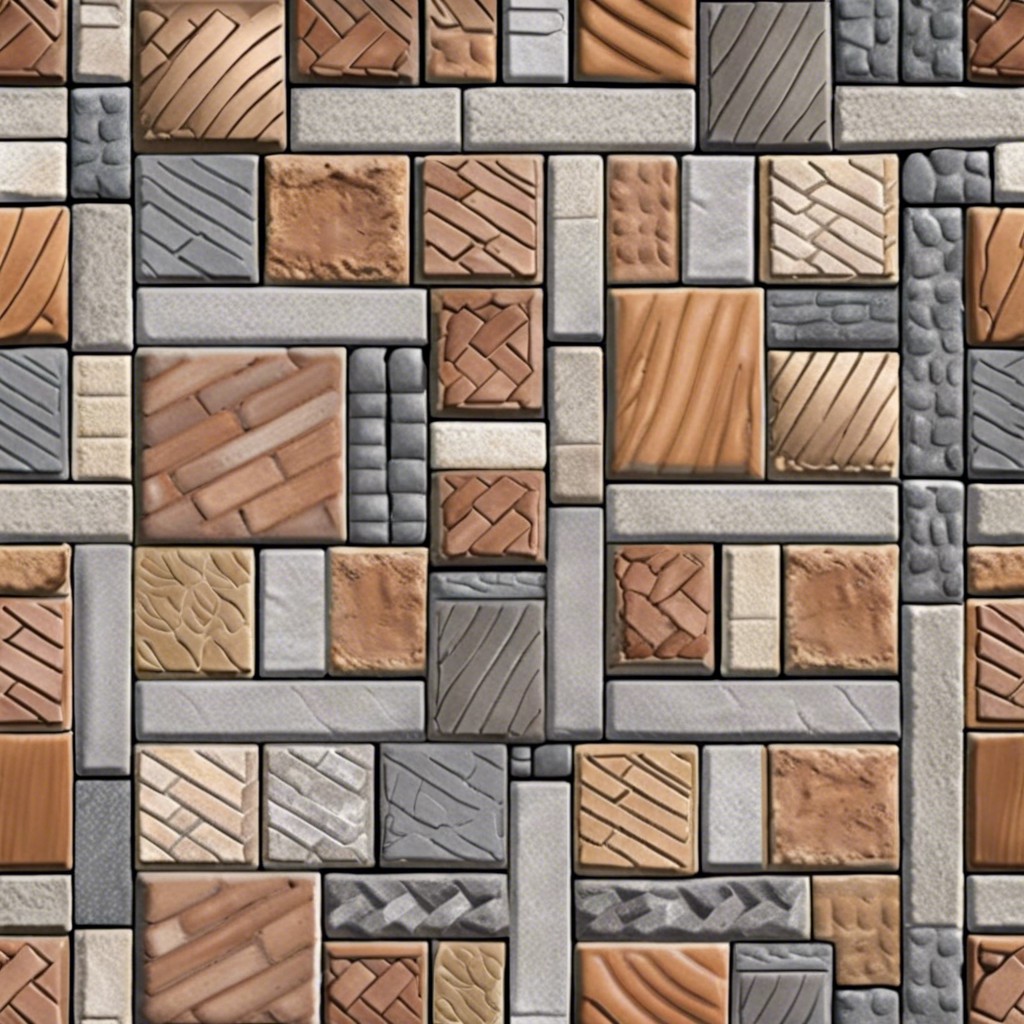
Lastly, the texture and size of the bricks should suit the intended design. Smoother bricks can offer a modern appearance, while rough-textured bricks can provide a more rustic or traditional look. Smaller bricks create a more intricate pattern, whereas larger ones can make a space feel bigger and are usually quicker to lay.
By keeping these points in mind, you can find the perfect bricks that balance function with style, ultimately elevating the look of your outdoor space.
Step-by-Step Guide to Laying Landscaping Bricks
Before you begin, ensure you have all the necessary tools and materials, such as landscaping bricks, paver base, leveling sand, a rubber mallet, a level, and a broom. It’s also wise to wear gloves to protect your hands during the process.
- Design your layout: Start by deciding on the pattern or shape you want for your garden path or patio. You may want to sketch it out on paper or mark it on the ground with spray paint.
- Prepare the base: Excavate the area to a depth of about 6 to 8 inches, removing any grass, roots, or debris. Compact the soil with a hand tamper or plate compactor. Now, apply a layer of the paver base, making sure it’s level and compact it again.
- Layering sand: Pour a 1-inch layer of leveling sand over the compacted base. Smooth it with a flat board or screed to create an even surface.
- Laying the bricks: Begin laying your bricks from one corner, following your design. Keep the bricks snug against each other to avoid gaps. Use the rubber mallet to gently tap each brick into place and check for levelness.
- Cutting bricks: If your design requires it, or you reach the edge of your area, you may need to cut bricks to fit. You can do this with a masonry saw or brick chisel.
- Fill the joints: Once all bricks are laid, spread fine sand across the top and use the broom to sweep it into the gaps between the bricks. This helps to lock them in place and prevent weed growth.
- Final compaction: With all bricks laid and the joints filled, give your new surface one last compact to settle everything in tightly.
Remember that laying bricks is a methodical process; take your time to ensure that each step is completed thoroughly for a polished and enduring result.
Maintenance and Care for Landscaping Bricks
Keeping your landscaping bricks looking great and lasting long comes down to routine maintenance. Start by regularly sweeping or blowing leaves and debris off the bricks to prevent staining and moisture retention which can lead to moss or algae growth. For any stubborn stains, a mild detergent and a scrub brush should do the trick but avoid harsh chemicals that might damage the brick’s surface.
Over time, you may notice the sand between the bricks settling. Simply topping it up can prevent weeds from taking root and maintain the structural integrity of your walkway or patio. If you’re contending with weeds, pulling them by hand or using a natural herbicide is preferable to protect the environment and your bricks.
Freeze-thaw cycles can be detrimental to landscaping bricks. To minimize damage, ensure that water can drain properly by keeping gaps clear and considering the use of sealants. Sealants can provide a protective layer against harsh weather, but they should be applied correctly and periodically according to product recommendations.
Lastly, if a brick does crack or becomes too worn, replacing it promptly will keep your overall design intact and prevent further damage. With these simple care routines, your landscaping bricks will stay in pristine condition, ready to enhance the beauty and functionality of your outdoor space for years to come.
Cost Analysis of Landscaping With Bricks
When considering the economics of using bricks in your landscaping project, several factors affect the overall cost. To start with, the price of bricks can vary significantly based on the type, size, and quality. For instance, standard red clay bricks are typically more affordable than specialized, high-end options like glazed or antique bricks.
The quantity needed is also a key factor. This includes not only the area to be covered but the design complexity, as patterns or intricate layouts might lead to more waste and, thus, demand more bricks. Remember, buying in bulk can often reduce the cost per unit, so be sure to calculate your needs accurately to take advantage of potential savings.
Installation costs should be factored in, too. If you’re experienced with DIY projects, you might save on labor by doing the work yourself. However, a professional landscaper can ensure a long-lasting and correctly installed brick feature. The trade-off here is between upfront labor costs and the potential long-term value of a professionally executed job.
Additionally, consider the cost of additional materials needed for installation, such as sand, gravel, or mortar, and any tools you might not already have. While these expenses might seem minor individually, they can add up, affecting your budget.
Finally, while not an immediate outlay, think about the longevity and sustainability of bricks. They are durable and typically require minimal maintenance, which means fewer replacement costs and long-term savings.
To sum up, a successful cost analysis is all about balancing the initial investment with durability, maintenance costs, and the aesthetic value that bricks add to your property. Careful planning and budgeting can make landscaping with bricks an investment that enhances the beauty and value of your home for years to come.
Also interesting:


