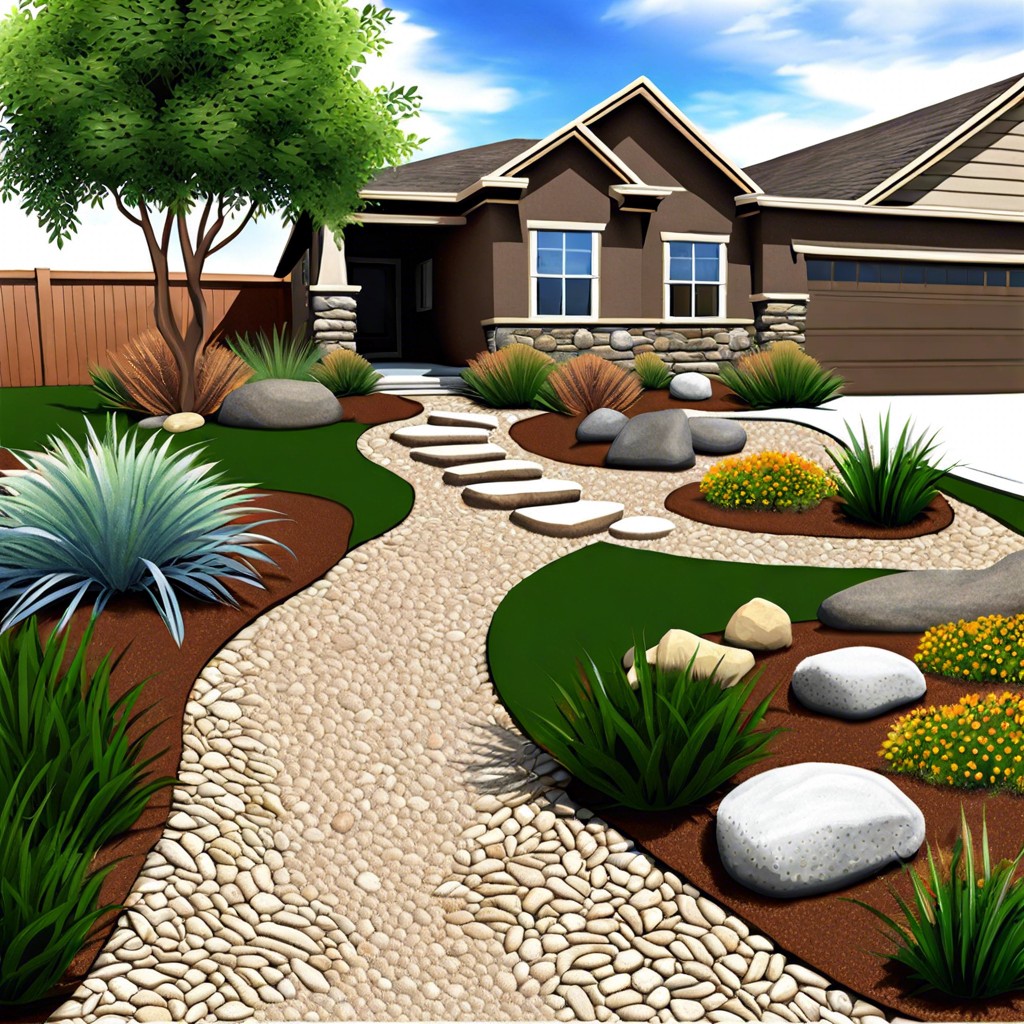
Welcome to the practical guide on transforming your front yard with a dry creek bed, where we’ll walk you through creating this beautiful, low-maintenance feature that doubles as a drainage solution.
Key takeaways:
- A dry creek bed in front yard landscaping offers both aesthetic and practical benefits.
- Careful planning is essential to create a natural and visually appealing design.
- The materials and tools required include river rocks, boulders, shovel, wheelbarrow, and landscape fabric.
- Step-by-step instructions include sketching out the design, digging the trench, lining with landscape fabric, and arranging rocks and stones.
- Regular maintenance and erosion control are crucial for maintaining the beauty and functionality of the dry creek bed.
Benefits of a Dry Creek Bed in Landscaping
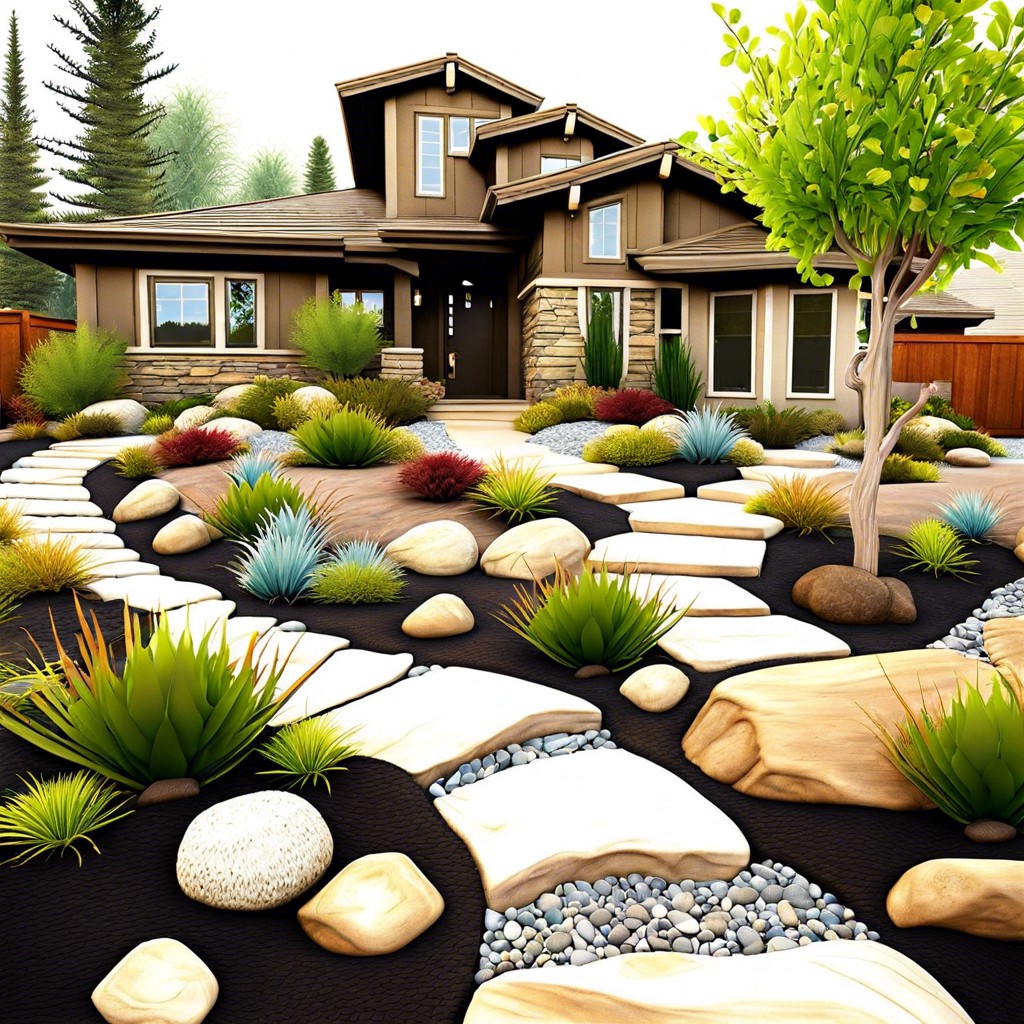
Imagine a babbling brook in your front yard, minus the hefty water bill. A dry creek bed offers an artistic twist to your garden design while playing hero in water management. During heavy rains, it channels runoff, preventing those pesky puddles that can turn your lawn into a swampy mess.
But it’s not just about managing H2O with pizzazz. A dry creek bed is a savvy imposter, giving the illusion of flowing water crafted from stone, captivating the eye and elevating your curb appeal without the ongoing maintenance of a real creek.
Plus, think of the critters! Birds will flock to the stones to sharpen beaks and claws, and beneficial insects find a home between the rocks. It’s a bustling highway for wildlife, adding vitality to your yard. So, you get the best of both worlds—a delightful scene that’s also a boon for Mother Nature. Welcome to a practical paradise!
Planning the Design and Path of Your Dry Creek Bed
Before you grab a shovel and start digging, take a moment to envision the journey you want your dry creek bed to take through your front yard. Imagine it as a natural feature, meandering with grace and purpose. Start by considering the highest point in your yard, as this will be the creek’s starting point. Gravity will do the rest, guiding the flow downhill.
Think about the curves and bends. A serpentine path creates a more natural and visually appealing look compared to a straight shot. It’s like crafting a story – you want twists and turns to keep it interesting.
As you plot the course, consider obstacles. Maybe there’s a tree with roots that beg for a detour, or a patch of flowers that could use a creek-side view. Use these features to your advantage, integrating them into the design to create harmony between the dry creek bed and your existing landscape.
Width and depth are the next chapter in your planning tale. A wider creek in some areas can suggest a pooling of water, a place where the stream might naturally slow. Meanwhile, narrowing the path can add a sense of movement, as if the water is bustling along.
Lastly, don’t forget to peek at the view from your window. After all, you’ll want to enjoy the fruits of your labor even when you’re indoors, sipping on your favorite beverage. Ensuring the dry creek bed looks stunning from different angles in your home will add an extra layer of satisfaction to your landscaping story.
Materials and Tools Required to Create a Dry Creek Bed
Diving into the materials, you’ll need a mix of river rocks and boulders, which are the stars of the show. They mimic a natural, flowing waterway and offer a rugged charm. To get them in place, a sturdy wheelbarrow will be your best mate, along with a strong shovel for digging. Also, a landscape fabric is like the invisible hero; it’s essential for preventing weeds from upstaging your dry creek bed.
Regarding tools, think of them as your loyal crew. A good pair of gloves will keep your hands in top shape while grappling with stones. A level is your guide to creating a realistic flow, ensuring the bed has a slight slope so any actual water can meander gracefully. A rake will be handy, much like a comb for your garden, perfect for smoothing out soil and gravel.
Remember, each tool and material is there to serve a purpose — the rocks create the foundation, the shovel and wheelbarrow handle the heavy lifting, and the landscape fabric and gloves offer protection, invisible yet vital. Choose wisely, my friend, as they are the building blocks to the grand finale: a picturesque and functional dry creek bed.
Step-by-Step Instructions for Installing a Dry Creek Bed
Alright, roll up your sleeves and let’s get cracking on your dry creek bed installation!
First up, sketch out your vision. Picture how the creek would wander naturally across your front yard and draw it out. A gentle, meandering path beats a straight line – you want to mimic Mother Nature, not a highway.
Grab a spade and start digging following your guide. The depth should vary – just like a natural creek would. Let’s say about a few inches to a foot deep and a couple of feet wide for good measure.
Next in line, line that trench with landscape fabric. This nifty trick stops pesky weeds from gatecrashing your creek bed party without an invite.
Now for the fun part – rocks and stones. Begin with the larger ones to form the banks. Play around with their positioning as if they’ve been there for centuries. Then fill in with smaller stones, creating the creek bed.
Remember, if you hit a snag, there’s no harm in stepping back to squint and rearrange until it’s just right. We’re crafting a masterpiece, not following strictly to blueprints!
Finishing touches? Add some plants along the edges. Go for species that love their feet wet in wild creek banks. They’ll add some green lushness to your dry creek and help it settle into its new home.
And there you have it – a bit of elbow grease and you’ve transformed your yard into a whimsical, waterless wonder.
Maintenance and Erosion Control for Your Dry Creek Bed
Keeping your dry creek bed in tip-top shape is like regular check-ups for your car – it keeps everything running smoothly. First, remember to regularly remove leaves and debris, as these can clog up the works and ruin the natural flow.
Over time, even the sturdiest stones may shift, especially after heavy rain. So, play detective and spot those movement-prone rocks, then snug them back into place. You want to mimic Mother Nature, and she definitely doesn’t like her stream beds looking like a jigsaw puzzle gone wrong.
Erosion’s a crafty villain in our gardens, sneaking in when we least expect it. Fortify your creek’s banks with plants that have a knack for holding soil in place. Think of them as the guardians of your garden galaxy. Pick native plants that are used to the local hustle and bustle – they’ll put down roots like anchors in a storm.
Lastly, don’t let water become a backstabbing frenemy. If your dry creek is actually a covert channel for runoff during downpours, ensure it’s deep and wide enough to handle the task. If it ends up looking more like a swamp than a charming brook, consider adding a deeper layer of gravel or rerouting part of your creek.
Your dry creek bed isn’t just a pretty face – it’s a functional piece of your landscaping puzzle. With a little love and attention, it’ll stand the test of time, just like your favorite pair of garden gloves. Keep it groomed, keep it stable, and keep it flowing. Your garden will thank you for it.
